
Those first few days with baby are so cherished and special. You want to make sure you capture their newborn looks but professional photoshoots can be costly. And if paying for a photographer isn’t in your budget, don’t worry, you can still capture beautiful photos of your baby with DIY (Do it Yourself) photography tricks.
Remember to Keep your Baby Safe: While these positions are adorable and great for photos, don’t leave your baby posed for long periods of time, especially when they are sleeping. Never leave your baby unattended and once the photos are snapped, transfer them to a safe place.
Here are some newborn photography tips and inspiration ideas:
Tip 1: Get baby ready.

Before you start, make sure your baby is well fed, sleepy and warm. Best time is around morning when your baby is usually the sleepiest and the lighting is usually perfect at this time.
Tip 2: Lighting is everything.
Lighting is very important. You can use a white sheet/comforter with white curtains behind and let in a ton of light into the shot and use the sun as a natural light resource. A well-lit area is key, but keep in mind direct sun can cause harsh light and shadows. Try to use a window that doesn’t have direct sunlight streaming into it, ideally a window facing north or south. Have your baby angled such that the light flows from the top of the baby’s head on down their body.
Tip 3: Switch out their looks.

You can change outfits or headbands to get more variety of photos of your baby. Change the backgrounds as well. Remember to keep the room toasty and warm so your baby is kept comfortable even during outfit changes.
Tip 4: Try creating different backgrounds.

A trick to easily create a cute background is to use bed sheets on your couch with blankets and pillows underneath to help prop baby up. You can use some sort of pillow to prop up your baby, use a blanket as a backdrop and make sure the back of it is held tight around the edges. You can switch themes by using different patterned blankets and props like a teddy bear.
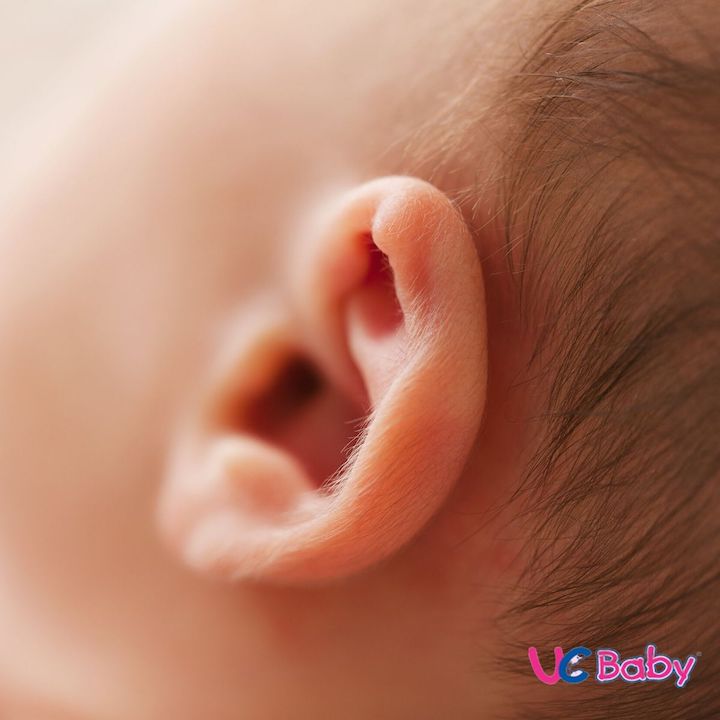
Tip 5: Get close up.

Try to capture the details like smiles, fingers, tiny yawns and toes. The ideal time to capture these precious moments is when your baby is 5-10 days old and easily poseable. Make sure to keep poses simple and natural.
If you have a macros lens, now would be the time to pull it out and put it to good use. Some things to shoot with a macro lens: nose, lips, eyelashes, ears, toes, fingers, belly button, hair and shoulders. Those details will change so fast as your baby grows and this way you can preserve these incredible moments.
Tip 6: Use your iPhone.

Nowadays, our phones are almost as good as a basic professional camera. Try the Portrait mode on the iPhone to create focus on your baby.
Tip 7: Try different angles.

Try to take photos from at least 3 different angles. But try not to shoot upward towards the baby (where you can see up the baby’s nose). It’s just not a great angle to shoot from. Keep your baby’s poses simple.
Tip 8: Edit Your Photos.

Feel free to go black and white, desaturate, add a filter and play around with colour. You can use any photo editing app you like.
You could also get some inspiration and ideas from Instagram or Pinterest. Don’t forget, experiment and have fun.
And always keep that baby happy!
Written by: Melissa Ureten
References:
14 Tips for Professional-Looking DIY Newborn Pictures
10 tips for photographing your own newborn
Newborn Photography Tips: How to Nail Your DIY Newborn Pictures


 Invitez familles et amis à assister à cet événement mémorable de votre grossesse. Célébrez avec vos proches où qu’ils soient dans le monde ce moment spécial de lien avec l’enfant.
 Rien n’est plus beau que les battements de cœur de votre bébé. Enregistrez ce son pour toujours dans un Ourson Coup de cœur de UC Baby®. Il ne s’agit pas simplement d’un beau souvenir, mais aussi d’un moyen efficace qui apaise votre bébé pour l’aider à s’endormir.

